
Machine Embroidery for Beginners: First Project Step by Step
Your first machine embroidery project, step by step: a design that fits the hoop, the right stabilizer, needle and thread, hooping, stitching and fixes.
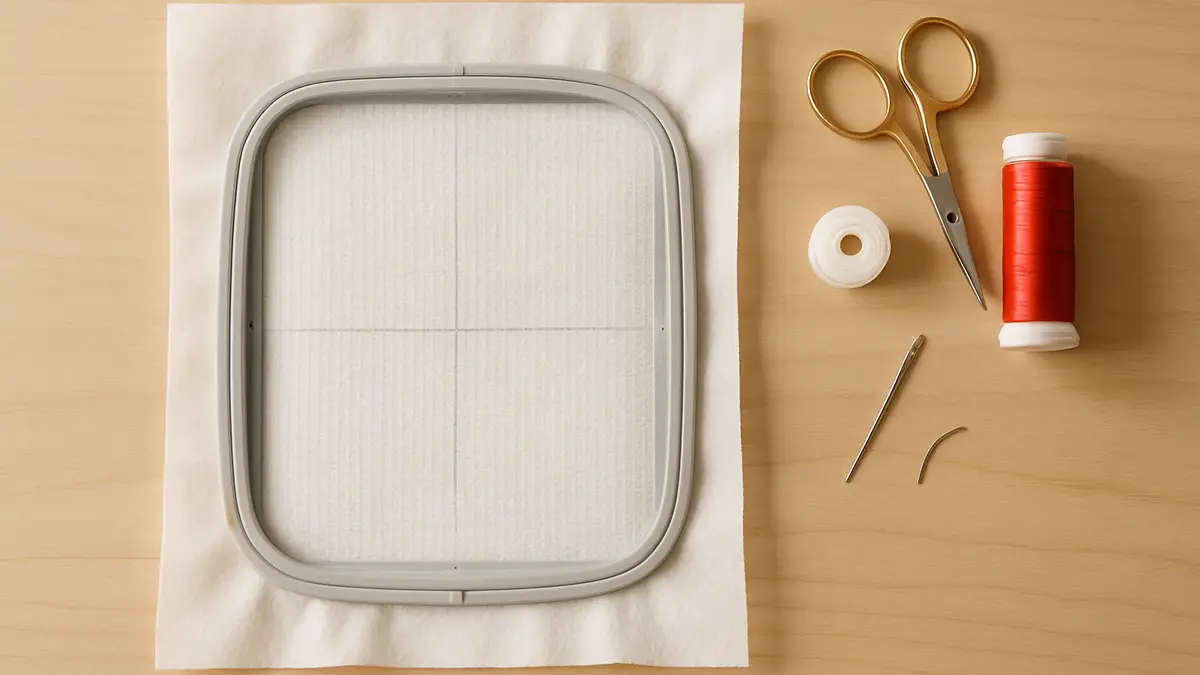
Machine embroidery has a short learning curve if the first project is chosen to succeed. Most bad first stitch-outs come from three things: a stretchy fabric, the wrong stabilizer, or a design that is too dense for its size. Pick a forgiving project and the machine does the hard part.
What do you need for your first machine embroidery project?
You need the machine, one design that fits its hoop, a stable fabric, stabilizer, an embroidery needle, embroidery thread and bobbin thread. Brother’s PE535, for example, ships with 80 built-in designs, bobbins and embroidery bobbin thread, but no stabilizer, so plan to buy a roll. This first-project kit is deliberately simple:
| Item | First-project choice | Why |
|---|---|---|
| Design | A built-in design, under about 8,000 stitches | Digitized for your machine, already the right format |
| Fabric | Flat-weave cotton tea towel or quilting cotton | Stable, does not stretch, cheap to practice on |
| Stabilizer | One layer of medium tear-away (for example Sulky Tear-Easy, $15.99 for 12 in x 11 yd, Oct 2026) | Enough support for a stable woven |
| Needle | 75/11 embroidery needle, sharp point for wovens | Standard size for 40 wt thread |
| Top thread | 40 wt polyester or rayon embroidery thread | Most designs are digitized for 40 wt |
| Bobbin | 60 wt or 90 wt bobbin thread, white | Fine, so it stays underneath |
| Tools | Small curved scissors, water-soluble marker or chalk, ruler | For trimming jump threads and marking the center |
How do you choose a first design?
Choose a design that fits inside your machine’s maximum embroidery field and is not too dense. A 4x4 in field is 100 x 100 mm; a 5x7 in field is 130 x 180 mm, and the machine will refuse anything larger. A built-in design is the safest start because it is guaranteed to be in the right format and size. Brother owners can also download designs from Brother’s own iBroidery site, and independent shops such as Embroidery Library and Urban Threads sell designs in every major format. Embroidery Library and Urban Threads also give away a design every month; our free embroidery designs guide lists safe sources and what the licenses allow.
Avoid very small text on the first try. Letters under about 1/4 in (6 mm) tall need 60 wt thread and careful stabilizing. Our embroidery fonts guide gives size ranges for built-in and software fonts. If you download a design, copy only your machine’s format to the USB drive; our embroidery file format guide explains which one that is.
How do you hoop fabric and stabilizer correctly?
Hoop the fabric and stabilizer together so they are smooth and firm but not stretched. Mark the design’s center on the fabric with two crossing lines. Loosen the outer hoop’s screw, lay the stabilizer on the outer ring, lay the fabric on top, line the marked center up with the hoop’s center marks (many hoops come with a clear grid template for this), and press the inner ring in. Tighten the screw, then tug the fabric edges lightly until the surface sounds like a drum without the weave being pulled out of square.
Stabilizer should extend at least 1 in past the hoop on every side. For anything other than a stable cotton, read our embroidery stabilizer guide before you hoop.
How do you set up needle and thread?
Fit a new 75/11 embroidery needle and thread the machine with the presser foot raised so the thread drops into the tension discs. Embroidery needles have a larger eye and a different shape to protect glossy embroidery thread. Use a sharp point on wovens like this tea towel and a ballpoint on knits later. Wind or insert the bobbin with bobbin thread, which is thinner than the top thread so it stays on the back of the work.
For the top thread, use 40 wt polyester or rayon embroidery thread. Polyester is stronger and stands up to bleach; rayon has a softer sheen. Our machine embroidery thread guide compares the two and the main brands. If the design’s color sheet names a brand you do not own, the thread color converter finds the nearest match in yours.
How do you stitch the design?
Attach the hoop, select the design, check its position on screen, and stitch a test on scrap fabric before the real piece. Many machines let you trace the design’s outline with the needle before stitching, so you can confirm it sits inside the hoop and over your center marks. Then:
- Thread the first color listed on the design’s color sheet or screen.
- Start the machine and stay close for the first few hundred stitches.
- At each color stop, trim the thread tail, rethread with the next color and continue.
- Watch for thread breaks and loops forming on top; stop early rather than late.
- When the machine signals the end, remove the hoop before taking the fabric out.
Stitch time is roughly the stitch count divided by the speed: a 6,000-stitch design at 650 stitches per minute takes about 9 minutes, plus thread changes. Home single-needle machines are typically rated 400 to 850 stitches per minute.
How do you finish an embroidered piece?
Finish by removing the stabilizer, trimming every jump thread and pressing from the back. Take the fabric out of the hoop, hold the stitches down with one hand and tear the stabilizer away gently toward the design, a little at a time, so the stitches are not pulled. Trim the jump threads (the travel threads between parts of the design) close to the fabric on the front and back. Press face down on a folded towel so the stitches keep their texture and hoop marks relax.
What goes wrong on a first stitch-out, and how do you fix it?
Most first problems trace back to threading, hooping or stabilizer, not to the machine. Use this table before calling for service.
| Symptom | Most likely cause | Fix |
|---|---|---|
| Tangle of thread under the fabric (bird’s nest) | Top thread not in the tension discs | Raise the presser foot and rethread the top thread completely |
| Top thread keeps breaking | Old or damaged needle, thread caught on the spool, speed too high | New 75/11 embroidery needle, check the spool cap, slow the machine down |
| Fabric puckers around the design | Too little stabilizer, or fabric stretched in the hoop | Add a layer or switch to cut-away; hoop smooth, not stretched |
| Outlines do not line up with fills | Fabric shifted in the hoop | Hoop tighter with stabilizer, use a stable fabric |
| White bobbin thread shows on top | Top tension too tight, or wrong bobbin thread | Use bobbin thread, check top tension per the manual |
| Design is off-center | Placement not checked | Trace the outline before stitching, use the hoop grid |
If the back of a finished design shows too much or too little bobbin thread, our sewing machine tension guide shows how to read a satin column and adjust.
Which machine should a beginner use?
Any home embroidery machine with a 4x4 in (100 x 100 mm) field or larger will do every step on this page. The choice between a 4x4 and a 5x7 field, embroidery-only or combo, and which brand, is a separate decision covered in our best embroidery machines for beginners list. This guide does not rank machines.
Who is this guide not for?
This guide is for people starting on a home single-needle embroidery machine. It does not cover hand embroidery, digitizing your own designs, or production work on a multi-needle machine with cap frames. It also skips difficult fabrics on purpose: T-shirts, towels, fleece and caps each need their own stabilizer and hooping approach, which our stabilizer guide covers once the basics are working.
Frequently asked questions
Quick answers to what readers ask us most
What is the easiest thing to embroider first?
A flat-weave cotton tea towel or a square of quilting cotton. Both are stable, cheap and forgiving. Avoid T-shirts (they stretch), terry towels (loops swallow stitches) and caps until you have a few clean stitch-outs behind you.
Do I need special thread for machine embroidery?
Yes. Use 40 wt embroidery thread (polyester or rayon) on top, which is what most designs are digitized for, and a fine 60 wt or 90 wt bobbin thread underneath. Regular all-purpose sewing thread is thicker and less glossy and can make dense designs bulky.
How long does a small embroidery design take to stitch?
Divide the stitch count by the machine's speed. A 6,000-stitch design at 650 stitches per minute is about 9 minutes of stitching, plus a minute or two per thread change. Machines often slow down on small details, so treat it as a minimum.
Can I use any design on my embroidery machine?
Only designs in a format your machine reads and that fit its maximum embroidery field. A 5x7 design will not stitch on a 4x4 machine. Check our file format guide before buying designs.
Why is my thread bunching under the fabric?
A tangle of top thread under the fabric (a bird's nest) usually means the top thread is not seated in the tension discs. Raise the presser foot, rethread the top thread completely, and check that the bobbin is inserted the way the manual shows.