
Machine Embroidery Troubleshooting: Fix Common Problems
Machine embroidery troubleshooting for puckering, thread breaks, bird nesting, skipped stitches and bad registration, with the likely cause and fix for each.
Almost every machine embroidery problem comes back to four variables: stabilizer, hooping, needle and tension. Learn to check those in order and you will fix most faults in minutes instead of guessing. This guide lists the common symptoms with the most likely cause first, so you start where the odds are.
What causes most machine embroidery problems?
Four things cause the large majority of faults: the wrong stabilizer, loose or stretched hooping, a dull or wrong needle, and tension that is off. Before you suspect the machine, run through those four, because a mechanical fault is far rarer than a setup mistake.
This matters because the same symptom can have several causes, and checking randomly wastes thread and fabric. Work the likely causes in order. If stabilizer, hooping, needle and tension are all right and the problem remains, then it is time to look at the design or the machine. The beginner guide covers getting those four right from the start.
How do you fix puckering?
Fix puckering by correcting the stabilizer and the hooping first, then the design density. Puckering is the fabric gathering around the stitches, and it almost always means the fabric was not held flat and stable while it stitched.
- Stabilizer too light or wrong type: step up to a firmer stabilizer, or use cut-away instead of tear-away for knits and dense designs.
- Fabric stretched in the hoop: hoop taut but at the fabric’s natural size; stretched fabric relaxes and puckers. See how to hoop fabric.
- Design too dense for the fabric: a heavy fill on thin fabric puckers; choose a lighter design or firmer backing.
Over-tightening the hoop does not cure puckering and often causes it. Start with the stabilizer every time; our stabilizer guide matches backing to fabric.
Why does the thread keep breaking?
Thread breaks are most often tension, then the needle, then the thread itself. Work the list in that order and test after each change.
| Cause | Sign | Fix |
|---|---|---|
| Top tension too tight | Breaks on dense areas | Rethread top path, loosen top tension slightly |
| Dull, wrong or burred needle | Breaks and shredding | Fit a fresh 75/11 embroidery needle |
| Old or brittle thread | Breaks on an old spool | Switch to fresh, quality 40 weight thread |
| Metallic thread run fast | Frequent breaks on metallics | Slow the machine, use a metallic or topstitch needle |
| Thread path snag | Breaks at random | Check for nicks on spool pin, guides, needle plate |
Rethreading the top path fixes more thread breaks than any single adjustment, so do it first. Our tension guide shows how to read whether tension is the cause.
What causes bird nesting under the fabric?
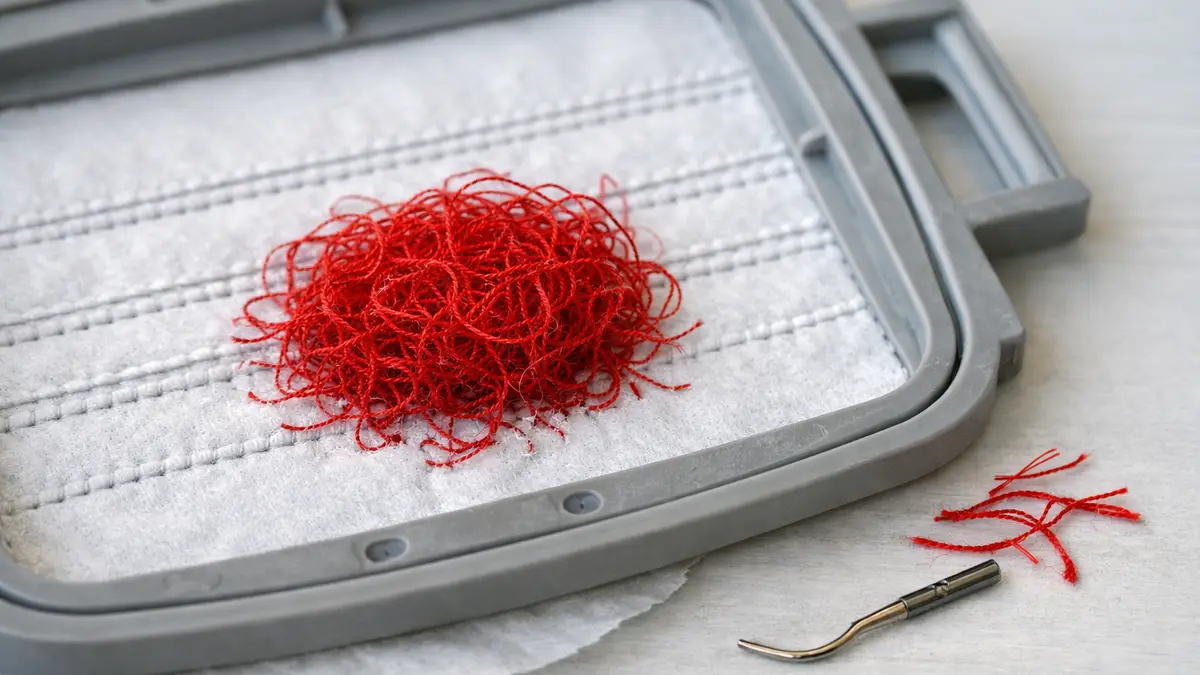
Bird nesting, a tangle of thread on the underside, almost always means the top thread was not seated in the tension discs. When the top thread has no tension, it feeds freely and piles up under the fabric instead of locking with the bobbin.
The usual reason is threading the machine with the presser foot down, which keeps the tension discs closed so the thread never drops between them. Rethread with the foot up so the thread seats properly, then check the bobbin is inserted the right way and its thread is in its own tension. If a nest has already formed, stop, remove the hoop carefully, clear all the thread from the bobbin area, and rethread top and bobbin before restarting.
Why is the design stitching out of register?
Registration problems, where outlines and fills do not line up, mean the fabric moved during stitching. The design shifting relative to the fabric is a hooping and stabilizer issue, not a design flaw, most of the time.
Hoop the fabric firmly so it cannot creep, use a cut-away stabilizer for detailed or dense designs because it holds better than tear-away, and make sure the hoop is fully seated on the machine arm before you start. Slowing the machine down reduces the force that pushes fabric out of position on fast, dense designs. If outlines still land off the fills, the design may be too dense for the fabric, which drags it as it stitches.
How do you fix skipped stitches?
Change the needle first, because a dull, bent or wrong needle causes most skipped stitches. A fresh needle fixes the problem more often than any other single step, and needles are cheap, so start there.
Use the right needle for the fabric: a ballpoint or embroidery needle for knits so it slips between the loops, a sharp for tightly woven fabric. Confirm the needle is fully inserted and facing the right way, since a needle set slightly wrong skips stitches. If a new, correct, properly seated needle still skips, the machine timing may be off, which is a technician job, but that is the last suspect, not the first.
Why is bobbin thread showing on top, or top thread on the back?
Thread showing on the wrong side is a tension balance problem. White dots of bobbin thread pulled to the front mean the top tension is too tight or the bobbin too loose; top thread looping on the back means the top tension is too loose or the bobbin too tight.
In machine embroidery, the aim is for the bobbin to barely pull the top thread to the back, so the underside shows roughly one third bobbin and two thirds top thread along a satin column. If bobbin shows on top, rethread the top first, then loosen top tension a little. If top thread loops underneath, check the bobbin is seated and threaded correctly before touching tension. Our tension guide shows how to read and set the balance.
How do you stop problems before they start?
Prevent most faults with a short routine before each project: fresh needle, clean bobbin area, right stabilizer, correct hooping and a test stitch. Prevention is faster than troubleshooting, because you catch the problem on a scrap instead of the real piece.
| Before stitching | Why |
|---|---|
| Fit a fresh needle for a new project | Dull needles cause breaks and skips |
| Clear lint from the bobbin case | Lint throws off bobbin tension |
| Match stabilizer to the fabric | The top cause of puckering and registration faults |
| Hoop taut, not stretched | Stretched fabric relaxes and puckers |
| Stitch a test on the real fabric | Catches every problem above cheaply |
Keeping a short log of what fabric, stabilizer, needle and thread you used for each project, and what went wrong, teaches you your own machine’s patterns faster than any guide. Most repeat problems trace to the same one or two variables for a given machine and fabric.
Who should stop and call a technician?
- Anyone hearing grinding or knocking. A mechanical noise means stop and get it serviced, not keep stitching.
- Persistent skipped stitches after a new correct needle. That points to timing, which needs a technician.
- Tension that will not balance after rethreading and cleaning. If a clean, correctly threaded machine still cannot balance, have it checked.
For everyday faults, work stabilizer, hooping, needle and tension in order first. Most problems resolve there, and keeping a stitched test and a change log helps you learn which variable your machine and fabrics are sensitive to.
Sources: Common machine embroidery fault causes from Brother and Janome troubleshooting documentation (threading with foot up, needle replacement, tension); Schmetz needle guidance (ballpoint for knits, replacement for skipped stitches); stabilizer and hooping practice from Madeira and Sulky education materials.
Frequently asked questions
Quick answers to what readers ask us most
Why does my machine embroidery pucker?
Usually the stabilizer is wrong or too light for the fabric, or the fabric was stretched in the hoop and relaxed after stitching. Dense designs on thin fabric also pucker. Fix the stabilizer first, hoop taut but not stretched, and lighten the design if the fabric is thin.
Why does my embroidery thread keep breaking?
Top tension too tight is the most common cause, followed by a dull, wrong or burred needle, old brittle thread, and running metallic thread too fast. Rethread the top path, fit a fresh 75/11 embroidery needle, check the thread is not old, and slow the machine for metallics.
What causes bird nesting under the fabric?
A mass of thread under the fabric almost always means the top thread was not seated in the tension discs, often because it was threaded with the presser foot down. Rethread with the foot up so the thread drops into the discs, and check the bobbin is in correctly.
Why is my design stitching out of alignment?
The fabric shifted in the hoop, the stabilizer was too light to hold it, or the design is too dense for the fabric. Hoop firmly, use a cut-away stabilizer for detailed designs, slow the machine, and make sure the hoop is seated fully on the machine arm.
Why are my stitches skipping?
Skipped stitches usually mean a dull, bent or wrong needle, so change the needle first. A ballpoint needle on knit and a sharp on woven also matter. Less often, it is a timing issue that needs a technician, but try a fresh correct needle before assuming that.